How to make a castor oil pack

Castor oil packs are gentle but highly effective for pain relief and promoting healing, and they also provide a soothing sensation ideal for sore muscles or joints. In this article, I will describe how you can make a castor oil pack at home.
What is castor oil?
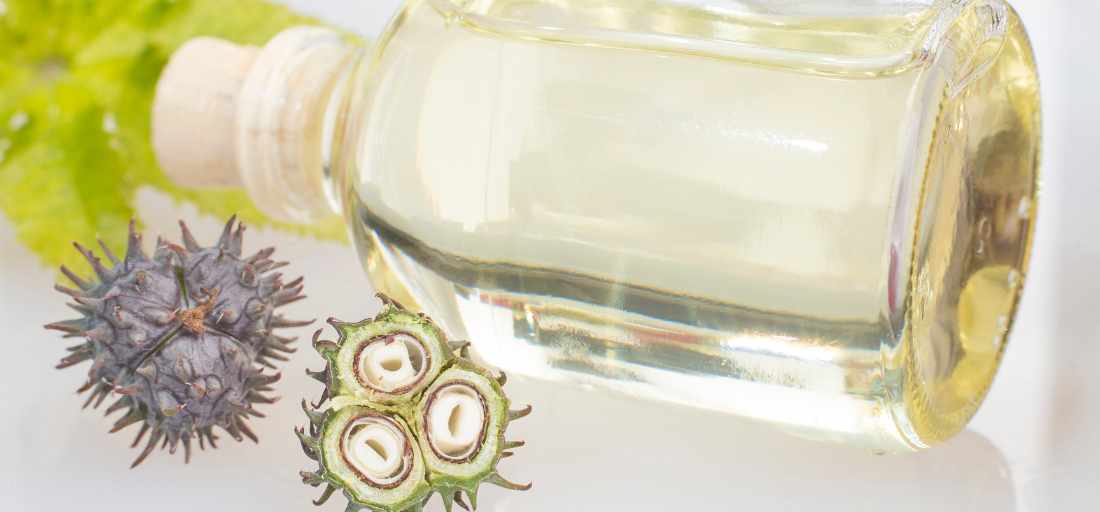
Castor oil is a pale yellow oil obtained from the castor bean plant and made by pressing the ripe, hulled castor seeds.
The remedy has been used for medicinal purposes for centuries. The ancient Egyptians used it to treat pain and inflammation, believing it could cure everything from headaches to stomachaches. Internally it can have strong laxative effects, and using it topically is a gentler option.
The oil is rich in ricinoleic acid, an unsaturated omega-9 fatty acid with powerful therapeutic properties. It has both antioxidant and anti-inflammatory properties. Ricinoleic acid helps improve blood flow and flow of lymphatic fluid throughout the body. It reduces muscle stiffness, relieves joint pain, and improves overall mobility.
The health benefits of castor oil packs
These packs primarily help to reduce inflammation and promote healing. The pack seems to increase detoxification through the liver and trigger the other organs of elimination to open and release toxins. It may also help to stimulate the lymphatic system, improve circulation and aid toxin removal generally. It can be very effective in cases of uterine fibroids and ovarian cysts.
Conditions that may respond well:
- headaches
- liver function disorders
- constipation
- intestinal disorders
- gallbladder inflammation or stones
- conditions with poor elimination
- nighttime urinary frequency
- inflamed joints
- abdominal cramps
What you will need
- Pure cotton flannel, or a piece of wool flannel large enough so that when folded 2-3 times, it measures the size of the area to be covered
- 500ml cold-pressed castor oil
- Two small old towels or one large towel
- Some plastic wrap, such as cling film
- A small electric heating pad or a hot water bottle
- A large clean jar with a lid to store the pad in between applications
- 1 litre of water
- 2 tbsp of sodium bicarbonate
How to make a castor oil pack
- Fold the fabric, so it has several layers and is the size you need
- Pour 250ml oil into a bowl and soak the piece of cloth in the liquid
- Gently wring out the fabric so it is well saturated but not dripping
- To prevent staining, place a plastic sheet covered with an old towel on the surface you will lie on
- Place the oil-saturated fabric over the treatment area so the oiled fabric is against your skin
- Cover the fabric in cling film to hold the pack in place and prevent staining
- Lie down and place a towel over the castor oil pack
- Apply the heating pad or hot water bottle over the pack. If the hot water bottle cools, then refill with hot water to ensure maximum benefit
- Keep in place for at least 30-60 minutes; it can be left longer or even overnight
- When finished, remove the pack and place the fabric in a large ziplock bag or sealed glass jar until the next use
To remove the oil from your skin, wash the treated area with a litre of warm water containing 2 tbsp of sodium bicarbonate.
For maximum effectiveness, re-apply the pack as often as possible—for instance, every other day for four weeks.
You can re-use the pack until it begins to change colour, which usually takes several months. You will need to top up the oil every 3 or 4 treatments.
Cautions
Allergies to castor oil are possible, so you could patch test a small area of your skin before doing a castor oil pack.
Oil packs should be used cautiously during pregnancy, bleeding or menstruation as they may cause additional bleeding.
Overall, these packs are an inexpensive and effective natural remedy to relieve pain and inflammation at home. Use the pack to soothe many painful conditions. These packs are generally safe but make sure you are aware of the cautions, and it is always a good idea to patch test your skin first.
